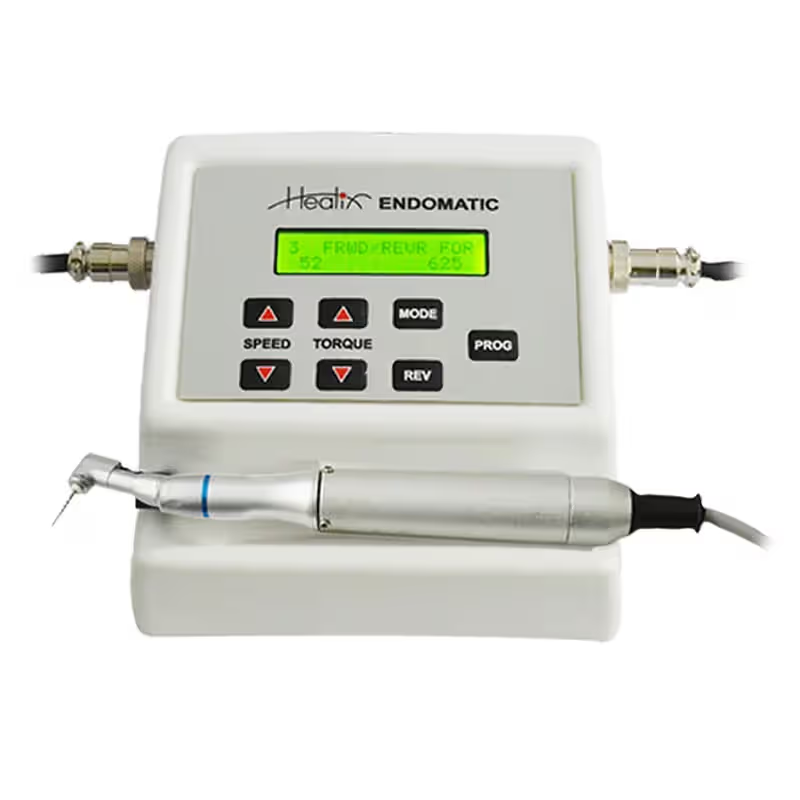
How to Connect Parts
Connect the Foot Switch Connector to the corresponding foot switch port on the control panel.
Connect the Motor Connector to the motor port on the control panel.
Plug the Power Cable into a 230V power socket.
Directions to Use
Plug the main power cable into a 230V socket.
Turn ON the power switch located at the back of the main control unit.
Use the Foot Pedal to activate rotation—pressing it will rotate the file attached to the contra-angle.
Settings
1. Speed Setting
The motor speed can be adjusted between 126 rpm to 625 rpm.
Press the SPEED buttons on the control panel to increase or decrease the speed.
2. Torque Setting
The torque range can be set between 3 mNm to 52 mNm.
Adjust using the TORQUE buttons on the control panel.
3. Mode Options
There are three torque control modes available.
Select any mode by pressing the MODE button:
Auto Stop:
When load exceeds the preset torque, the motor stops automatically.
Rotation resumes only after releasing and re-pressing the foot pedal.
Auto Reverse:
When the torque limit is exceeded, the motor automatically rotates in reverse.
It continues reversing until you release and press the foot pedal again.
Auto One-Cycle Reverse:
When torque exceeds the limit, the motor reverses for a few turns and then returns to normal forward rotation automatically.
4. Programs (0–9)
The PROGRAM button allows setting up to 9 programmable presets (0 to 9).
You can save custom combinations of rotation speed, torque limit, gear ratio, and mode.
To Save a Program:
Press the PROGRAM key repeatedly to select the desired program number.
Adjust speed, torque, gear ratio, and auto-reverse mode using the respective keys.
Hold the PROGRAM key for more than one second to save the settings.
The screen will indicate that the program has been successfully stored.