

Dentist
Streamlining Endodontic Workflow: A Guide to Selecting the Right File Organizer
Learn how to select the right endodontic file organizer for your practice. This guide covers material, sterilization, design, and workflow integration for clinical efficiency.


In any busy endodontic practice or department, efficiency and safety are non-negotiable. While we focus heavily on the specifications of our files and obturation systems, the humble endodontic file organizer is often overlooked. This is a significant operational oversight. A well-chosen organizer is not merely a storage box; it is a critical process control tool that directly impacts clinical workflow, instrument lifespan, sterilization assurance, and patient safety.
Moving beyond a simple stainless steel cup or a foam block to a dedicated organizer system streamlines every step of the root canal procedure. It provides a clear, logical sequence for instrument use, minimizes chair-side confusion, and, most importantly, creates a robust framework for tracking instrument use—a vital step in preventing cyclic fatigue and intra-canal file separation, especially with modern NiTi rotary systems. This guide examines the key operational and clinical criteria for evaluating and selecting an organizer that fits your facility's specific needs.
The Clinical Case for a Dedicated Organizer
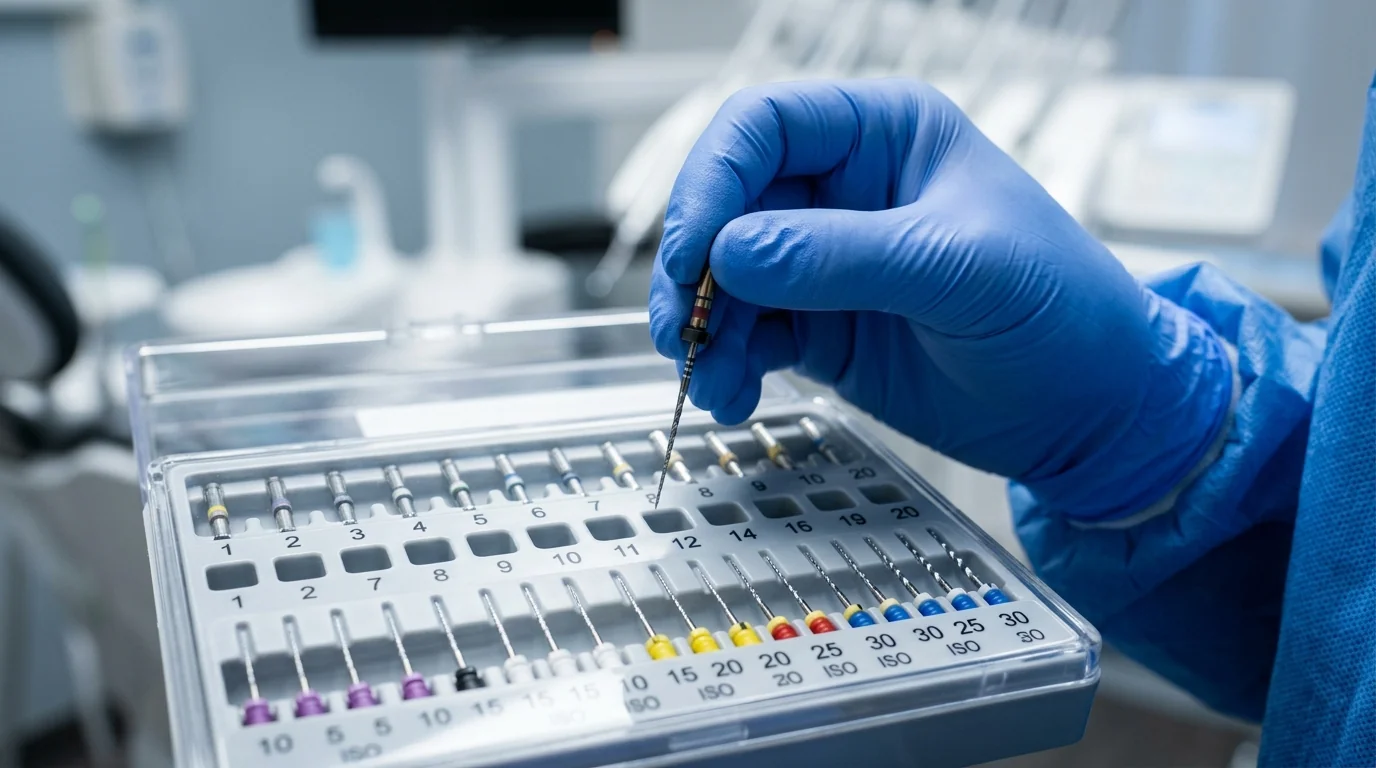 A systematic approach to endodontic instrument management yields measurable improvements in both clinical outcomes and operational overhead. The right organizer is central to this system.
- Sterilization Integrity: A properly designed organizer ensures that every instrument is fully exposed to steam during the autoclave cycle. Its perforated or vented construction allows for complete steam penetration and efficient drying, preventing wet packs and ensuring verifiable sterility from the Central Sterile Services Department (CSSD) to the operatory.
- Instrument Longevity: Delicate endodontic files, particularly the flexible tips of
rotary files endo, are susceptible to damage when stored improperly. An organizer with individual slots protects the cutting flutes and tips from bending or breaking, extending the usable life of your instrument inventory and reducing recurring expenditures. - Workflow Efficiency: A logically arranged set of instruments, sequenced according to your preferred technique, dramatically reduces chair-side time. It eliminates the need for the clinician or assistant to search for the next file in the sequence, allowing for a smoother, more focused procedure. This is particularly relevant when using multi-file systems like the
neo endo file systemwhere sequence is paramount. - Cross-Contamination Control: Dedicated organizers create a closed loop for instrument management. They allow for the clear separation of used and unused instruments during a procedure and ensure a sterile chain of custody from autoclave to patient, and back to decontamination.
Key Evaluation Criteria for an Endodontic File Organizer
When specifying an organizer for your practice, move beyond basic capacity and consider the features that deliver tangible operational benefits.
Material and Construction The material dictates the organizer's durability and sterilization compatibility.
- Medical-Grade Polymers: High-performance plastics like polysulfone or autoclavable polypropylene are common. Verify the manufacturer's specified temperature and pressure tolerance, ensuring it is compatible with your standard autoclave cycles (typically 134°C). These materials are lightweight and often feature integrated measurement rulers.
- Anodized Aluminum or Stainless Steel: These offer maximum durability and longevity. While heavier, they conduct heat well. Ensure the design is not a solid block, which can hinder steam penetration. A well-designed steel or aluminum
bossdent endo instrument organizerwill feature ample spacing and perforations.
Design, Layout, and Functionality The physical layout directly impacts ease of use.
- Capacity and Versatility: Does the unit accommodate the number and type of instruments used in a standard procedure? Look for designs that can hold a full sequence of hand files (K-files, H-files) and rotary files, with dedicated slots for different lengths (e.g., 21mm, 25mm, 31mm).
- Integrated Measurement: An organizer with a built-in endo ruler for setting rubber stops is a significant workflow enhancement. It saves space and consolidates tools.
- Component Holders: Many modern organizers include compartments for associated consumables like gutta-percha points, paper points, and cotton pellets. This creates a self-contained procedural kit, further improving efficiency. Some even incorporate a section that functions like a
bur box dentalfor holding endo-access burs. - Usage Tracking (The "Memory" Feature): This is arguably the most critical safety feature in a modern endo organizer. With the widespread use of NiTi rotary files, tracking the number of uses to prevent metal fatigue is essential. Organizers with a "memory" system, like the Bossdent Endo File Memory Box, incorporate a mechanism—often a movable ring or dial associated with each file slot—that allows the operator to record each clinical use. This provides a clear, at-a-glance visual indicator of an instrument's history, prompting its disposal before it reaches its fatigue limit.
Integrating the Organizer into Your Sterilization Protocol
A dental clinic supply store endo box is only effective if it's integrated correctly into your clinic's infection control workflow.
- Decontamination: After clinical use, the organizer and its instruments must be moved to the decontamination area. Instruments should be manually or ultrasonically cleaned according to protocol before being placed back into the organizer for sterilization. Ensure the organizer itself is also thoroughly cleaned and disinfected.
- Arrangement and Inspection: Before packaging for sterilization, arrange files in the correct procedural sequence. Inspect each file for signs of wear, unwinding flutes, or a bent tip. This is also the point to update the usage tracker or memory ring on the organizer.
- Sterilization: Place the loaded organizer into a sterilization pouch or wrap. Position it in the autoclave to allow for maximum steam exposure and drainage, as per the sterilizer and organizer manufacturer’s instructions.
- Sterile Storage: Once the cycle is complete and the pack is dry, the organizer should be stored in a designated clean area, ready for the next procedure. The self-contained nature of the organizer ensures the entire instrument set remains together and sterile.
Equip Your Facility Today
Implementing a systematic approach to endodontic instrument management is a direct investment in clinical safety, efficiency, and quality of care. By standardizing your procedural setup with a well-specified organizer, you create a more predictable and controlled environment for every root canal treatment. For your facility's procurement needs, explore the curated range of dental instruments and consumables available on MedikaBazaar to find the equipment that aligns with your clinical protocols.
FAQs

