Intraoral Scanner Uses


How to Use an Intraoral Scanner
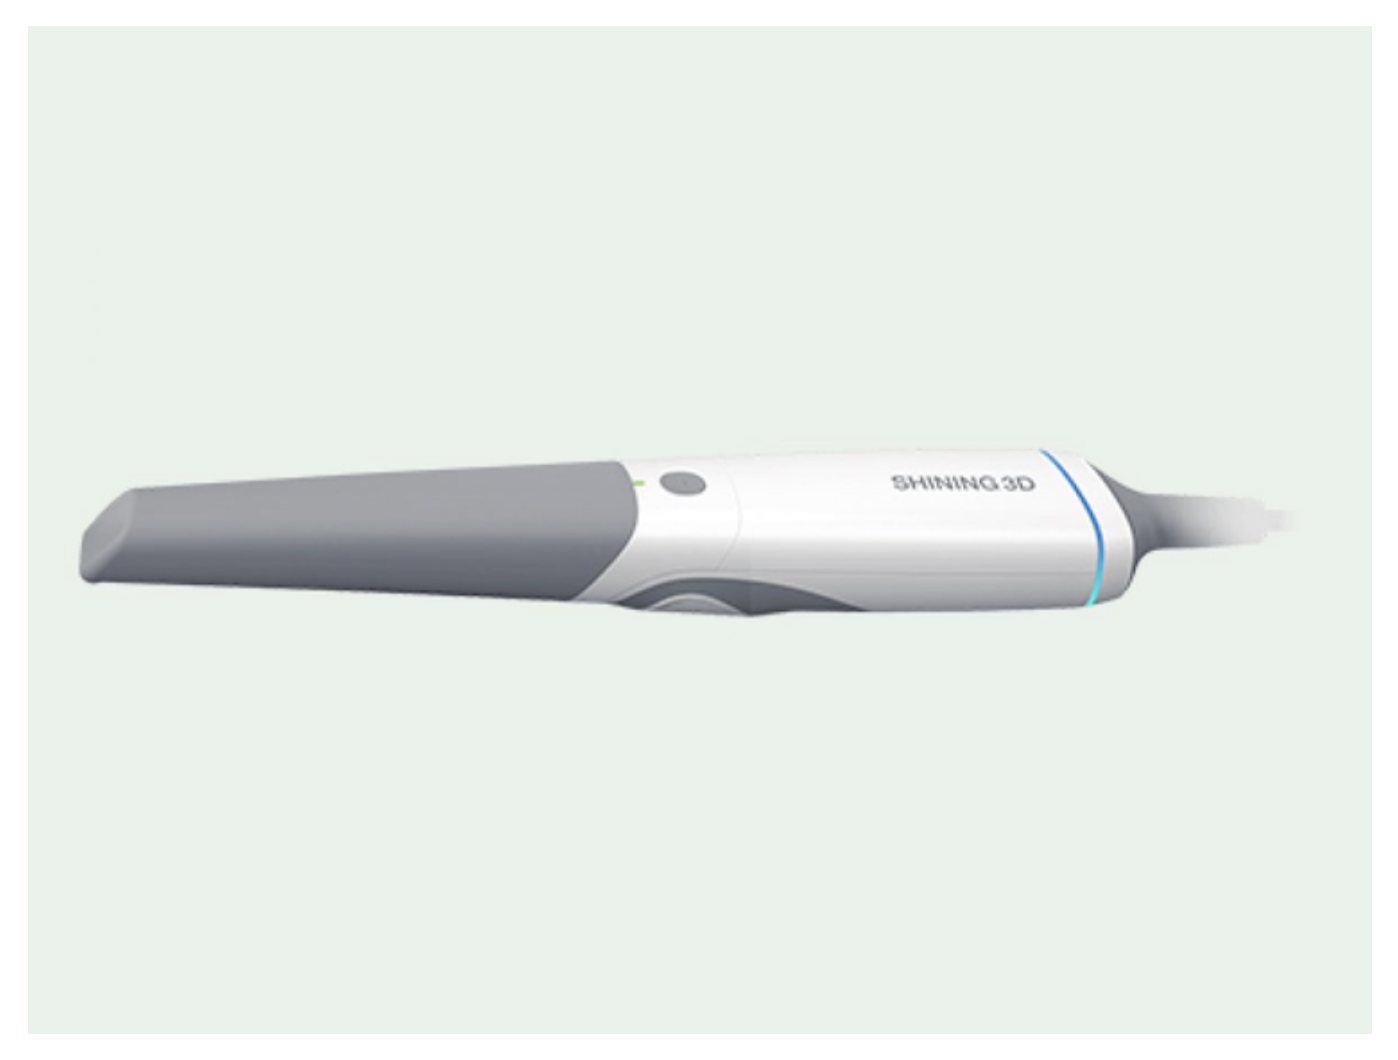
An intraoral scanner is a handheld device that captures direct 3D images of a patient’s mouth, including teeth, gums, and other oral tissues. These digital impressions can be used for designing crowns, bridges, implants, orthodontic aligners, and more, eliminating the need for traditional molds.
Patient Preparation
- Ensure the patient’s mouth is clean and dry, as saliva, blood, or debris can affect the scan.
- Use cheek retractors and tongue depressors to get a clear view of the area to be scanned.
Equipment Setup
- Set up and calibrate the scanner according to the manufacturer’s instructions.
- Have all supplies ready, including scanner tips, disinfecting wipes, and protective covers.
The Scanning Process
- Use a new, sterilized scanner tip for each patient to prevent cross-contamination.
- Power up the scanner and allow it to warm up if necessary, following the user manual.
- Open the scanning software and create a new case file. Enter relevant details such as the patient’s name and type of restoration needed.
- Gently place the scanner tip in the patient’s mouth, capturing the top surfaces of the teeth. Move slowly to ensure accurate images.
- Capture the cheek-side surfaces, maintaining a distance of about 5–10 mm between the scanner tip and teeth.
- Repeat the process for the tongue-side surfaces, adjusting the angle as needed.
- Carefully scan the spaces between teeth and any specific areas of interest or preparation.
- The software generates a 3D model in real-time. Check the model and rescan any areas that appear incomplete or unclear.
- Once satisfied, finalize the case and export the digital impression in the required format for lab work or CAD/CAM software.
Post-Scanning Steps
- Clean the handpiece and reusable components as per manufacturer instructions.
- Autoclave the scanner tip between patients; most tips are rated for up to 100 autoclave cycles.
- Save digital impressions securely, either on an external drive or cloud storage.
Key Benefits of Digital Impressions for Patients
- Intraoral scanner uses are versatile the digital impressions remove the need for messy trays, making the process much more comfortable for patients.
- Advanced scanning technology captures detailed images of teeth and gums, reducing the need for retakes.
- Digital files can be sent directly to dental labs, speeding up the delivery of crowns, bridges, and other restorations.
- Patients report quick, painless, and precise procedures, highlighting comfort and satisfaction.
- Digital impressions simplify processes for dental professionals, allowing more focus on patient care.
How Intraoral Scanners Improve Diagnosis and Treatment
Intraoral scanners have transformed the way dentists diagnose and treat oral health issues. By capturing highly detailed, 3D digital images of a patient’s teeth, gums, and surrounding tissues, these scanners provide a comprehensive view that is often more precise than traditional impressions. This level of detail allows dental professionals to identify problems such as cavities, misalignments, or wear patterns earlier and with greater accuracy.
Moreover, the digital impressions can be used to plan and design restorations, orthodontic treatments, or implants more efficiently. This not only reduces the chances of errors but also speeds up treatment planning and improves patient outcomes. Overall, intraoral scanners help dentists make informed decisions, deliver precise treatments, and provide a more comfortable experience for patients.
Common Mistakes When Using an Intraoral Scanner
Adjacent Contacts Not Parallel or Smooth
- Open or light contacts often result from irregular or pin-point adjacent contacts.
- Check and adjust adjacent teeth before scanning to ensure parallel walls and proper spacing.
- Use a fine diamond to adjust and a fine carbide to smooth surfaces for better crown design and fewer remakes.
Insufficient Tissue Retraction
- Clear visibility of margins is crucial for accurate restorations.
- Always use retraction methods like packing a cord to expose the margin fully.
- Evaluate the scan for any blocked areas and adjust tissue before finalizing the scan.
Poorly Designed Tooth Preparation
- Well-designed preparations are stronger and last longer than those relying solely on cementation.
- Avoid undercuts, feather-edge margins, and sharp edges.
- Aim for parallel walls with 4–8° taper, chamfer shoulder margins, and rounded edges for durability.
Incorrect Bite Capture
- Incomplete or early bite scans can lead to occlusion issues.
- Always capture a full bite, ideally on both sides, and review the scan after rendering.
- Ensure the bite is accurate before finalizing the design.
Over scanning
- Repeatedly scanning the same area can confuse the software and reduce accuracy.
- Follow the scanner’s recommended scan pattern.
- Focus on critical areas and avoid going back over previously scanned spots unnecessarily.
Maintaining and Cleaning Your Dental Scanner
Clean the Scanner Regularly
Dust, dirt, and debris can build up on your scanner over time, affecting both its performance and the quality of digital impressions. To maintain accuracy, clean the scanner regularly. Wipe the exterior with a soft, lint-free cloth, and use manufacturer-approved solutions for lenses and internal components. Avoid harsh chemicals or abrasive materials that could damage sensitive parts.
Keep Firmware and Software Updated
Outdated software or firmware can cause glitches, slow performance, or compatibility issues with other dental systems. Make it a habit to check for updates regularly through the manufacturer’s website or software portal. Schedule updates during non-working hours to avoid interruptions, and contact a professional if any issues arise during the update process.
Perform Regular Calibration
Calibration is essential to ensure your scanner captures accurate and reliable digital impressions. Follow the manufacturer’s guidelines for calibration frequency and procedures, using the provided tools and settings. If calibration errors continue, consult a repair service to maintain optimal performance.
Handle the Scanner with Care
Intraoral scanners are delicate instruments that require careful handling. Always store the scanner in a secure, padded case when not in use, and avoid dropping or mishandling it. Training your staff on proper handling techniques can prevent accidents and extend the life of the device.
Inspect for Wear and Tear
Regular inspections help identify minor issues before they become major problems. Check for loose or frayed cables, scratches or cracks on the surface, and any noticeable changes in performance or scan quality. Addressing issues promptly by contacting a professional repair service ensures consistent results and reduces downtime.
Store Properly
Improper storage can expose the scanner to environmental factors that may cause damage over time. Keep it in a cool, dry place away from direct sunlight, avoid placing heavy objects nearby, and use protective covers to prevent dust accumulation.
Schedule Preventive Maintenance
Proactive maintenance helps prevent unexpected breakdowns and costly repairs. Regular check-ups can identify potential issues early, ensure the scanner operates at its best, and reduce unplanned downtime, allowing dental professionals to focus on patient care.
Differences Between Intraoral and Traditional Scanners
Intraoral scanners capture digital 3D images directly from the patient’s mouth, while traditional scanners use physical impressions with trays and materials that are later poured into models. Digital scanners provide more precise, detailed results, improve patient comfort by eliminating bulky trays, and allow quick adjustments or rescans. Traditional methods can be less accurate, uncomfortable, and require repeating the entire process if errors occur. Additionally, digital files are easy to store and share, whereas physical models take up space and can degrade over time.
Related Products

Fastest by 8th Apr
Orikam Helios 500 Intra Oral Scanner
₹2,57,133
₹4,70,47645% OFF
₹2,56,133 with MBFIRST
Fastest by 13th Apr
Fussen IOS S6500 Intra Oral Scanner
₹2,85,714
₹5,00,00043% OFF
₹2,84,714 with MBFIRST
Fastest by 10th Apr
3 Shape Trios 5 Intra Oral Scanner
₹17,75,715
₹20,00,00011% OFF
₹17,74,715 with MBFIRST
Fastest by 12th Apr
Medit i600 Intra Oral Scanner
₹7,22,857
₹7,21,857 with MBFIRST
Fastest by 10th Apr
Shining 3D Aoralscan 3 Neo Intraoral Scanner
₹3,83,036
₹6,25,00039% OFF
₹3,82,036 with MBFIRST


FAQs
SOCIAL MEDIA
DOWNLOAD APP
HELP US IMPROVE
SOCIAL MEDIA
DOWNLOAD APP